Project Steph's 1978 Honda Civic 1200
- Steph
- Projects

- Posts: 3150
- Joined: August 14th, 2008, 2:02 am
- Province/State: South Australia
- Hometown: Adelaide
- Model: 1978 Hatchback
Steph's 1978 Honda Civic 1200
Thanks Pete, that 'balance' has been something I've been keen to get right. Contrasting elements, etc. That's also the reason I'm going with metallic cobalt blue over a black base for the paint, as opposed to an RS-style orange (which I love). The blue will make the chrome pop and the black base will complement all the black parts (tires, hoses, plug wires, etc.).
My hyperactivity disorder won't afford me any rest. The rear suspension components are next... :P :)
My hyperactivity disorder won't afford me any rest. The rear suspension components are next... :P :)
- Steph
- Projects

- Posts: 3150
- Joined: August 14th, 2008, 2:02 am
- Province/State: South Australia
- Hometown: Adelaide
- Model: 1978 Hatchback
Steph's 1978 Honda Civic 1200
A few years back I replaced the shifter isolation rubber bush using Sikaflex 227 (made in Japan). For ages I wondered if it was a bad decision, so a few weeks back I decided to remove the Sikaflex 227 and replace it with polyurethane. The thing is, as I removed the Sikaflex I was amazed at how well it had bonded, and how it felt and behaved exactly like rubber. This made me decided to use Sikaflex 227 again, except this time I bought it in black (last time I used white).
The first photo is of the 'old' bush.
Caulking gun is a Tajima Tools - Convoy Super 100
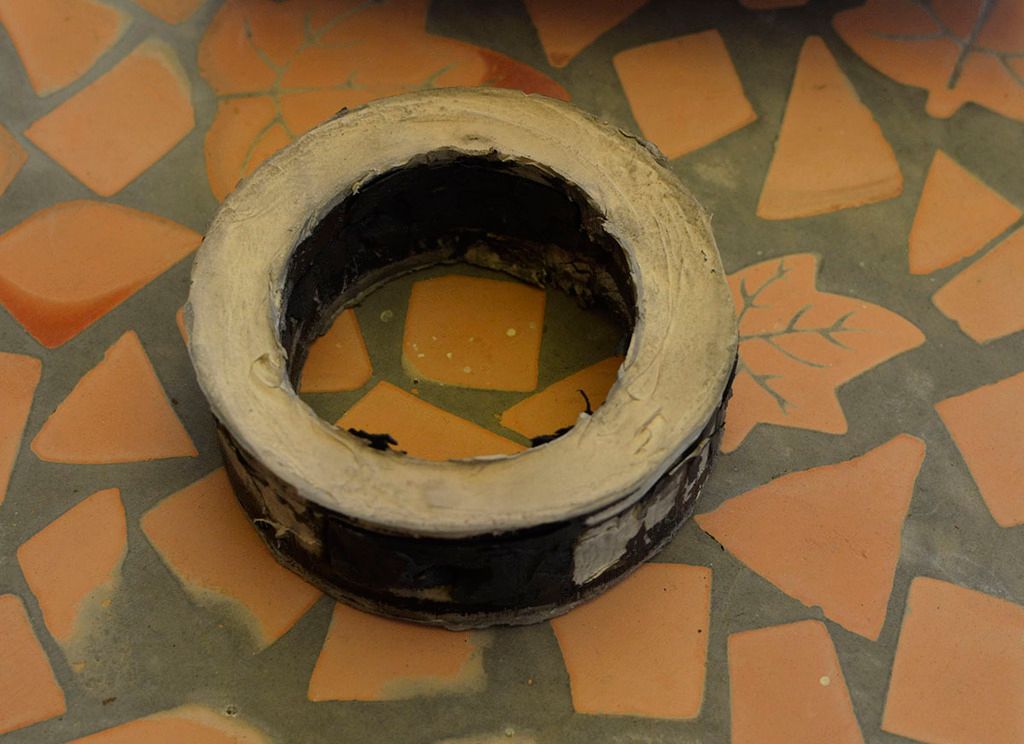
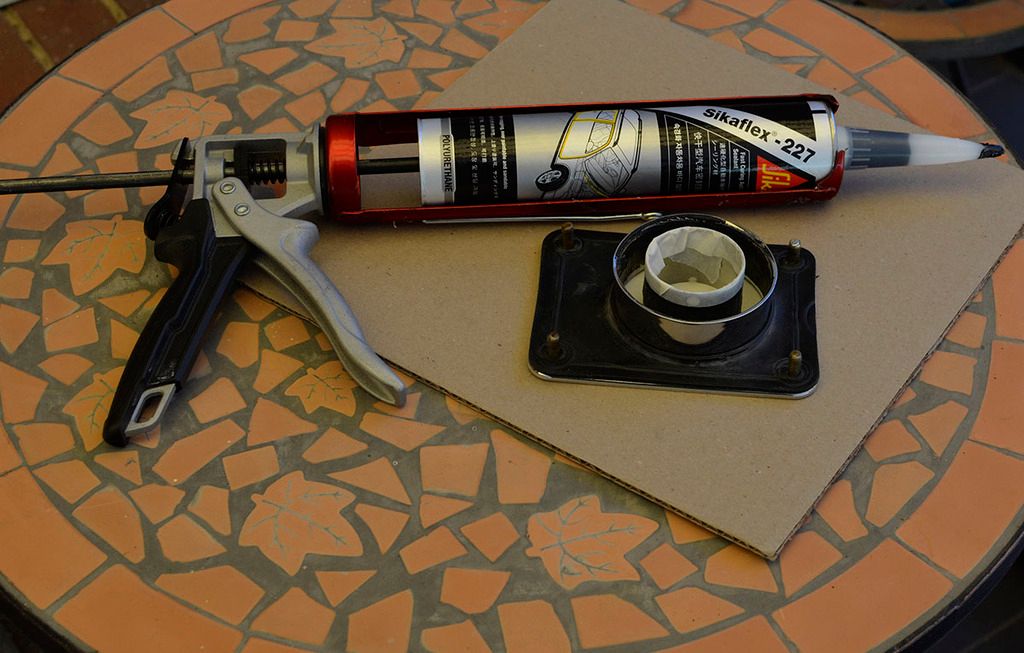
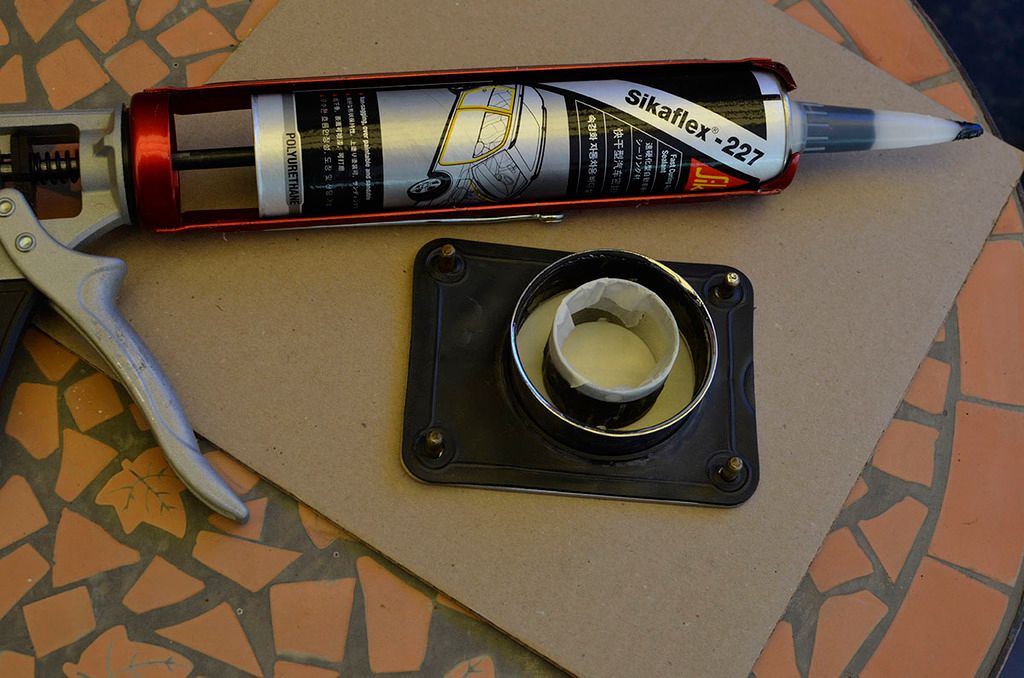
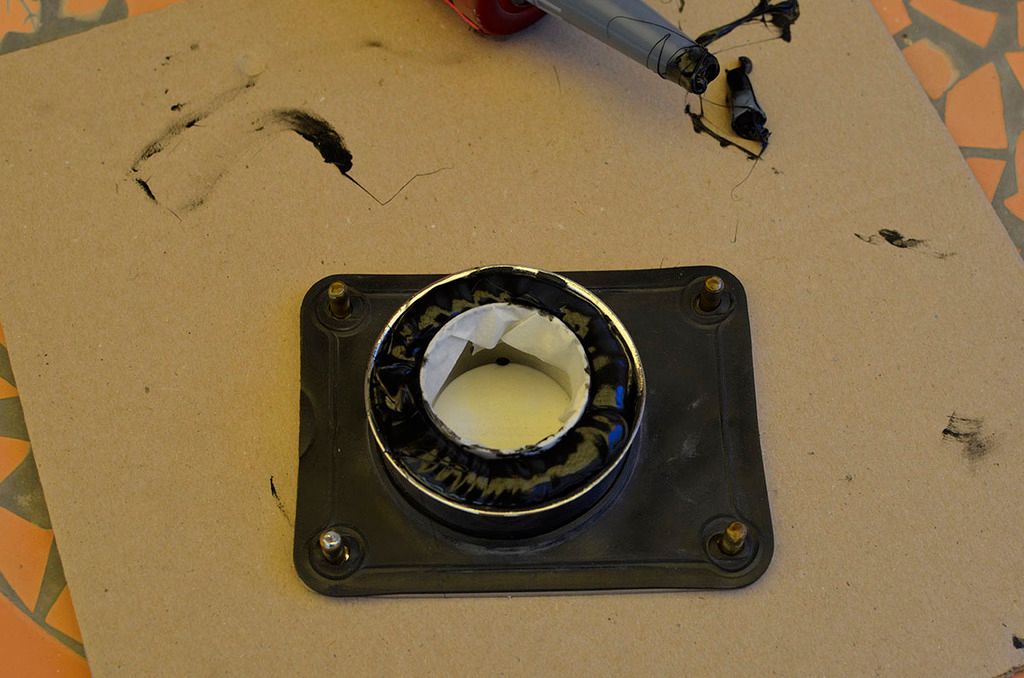
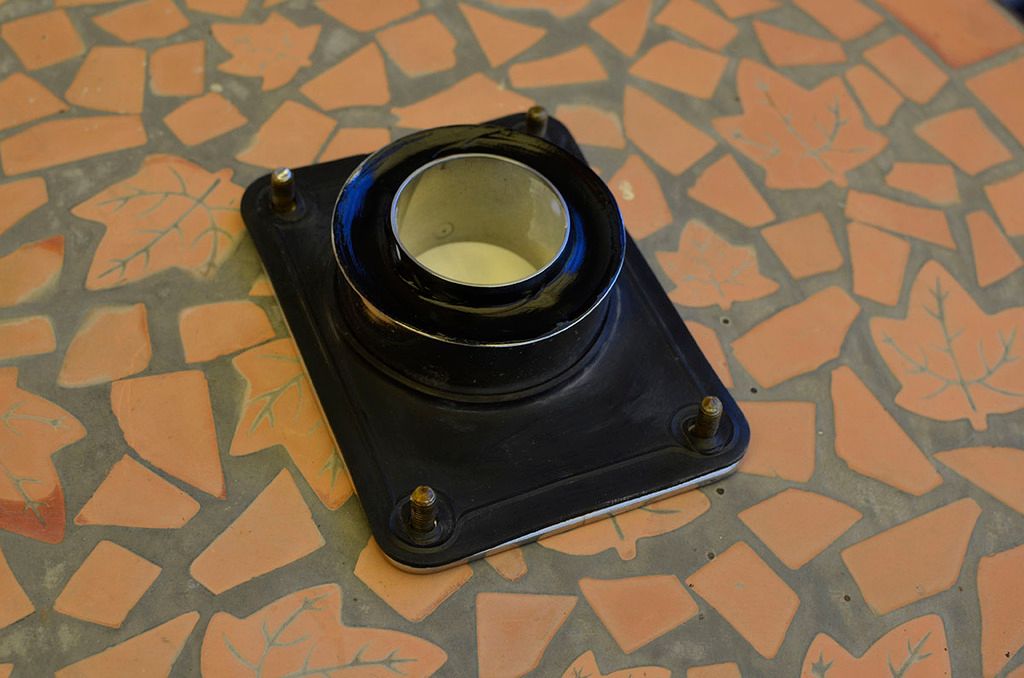
The first photo is of the 'old' bush.
Caulking gun is a Tajima Tools - Convoy Super 100


- amifsud
- JDM

- Posts: 491
- Joined: September 18th, 2005, 4:08 am
- Province/State: Melbourne Victoria Australia
Steph's 1978 Honda Civic 1200
Sikaflex 227 is actually a polyurethane according to their website. I recently used it when repairing the front guards on my 4 door. I used it to bond the filler panel to the outer skin of the guard.
- Steph
- Projects

- Posts: 3150
- Joined: August 14th, 2008, 2:02 am
- Province/State: South Australia
- Hometown: Adelaide
- Model: 1978 Hatchback
Steph's 1978 Honda Civic 1200
Yeah, I realised that after I had already posted my reply. If you look in the photos it actually has 'POLYURETHANE' written on the bottom of the label.
- Steph
- Projects

- Posts: 3150
- Joined: August 14th, 2008, 2:02 am
- Province/State: South Australia
- Hometown: Adelaide
- Model: 1978 Hatchback
- Steph
- Projects

- Posts: 3150
- Joined: August 14th, 2008, 2:02 am
- Province/State: South Australia
- Hometown: Adelaide
- Model: 1978 Hatchback
Steph's 1978 Honda Civic 1200
Been keeping busy assembling parts. I just finished the brake caliper assembly and it came out just like I envisaged... maybe even better.
I got through an entire can of brake cleaner prepping the calipers and master cylinder for assembly. I then assembled them in the kitchen to keep them squeaky clean. I spent ages watching videos and reading comments on how to assemble the calipers. In the end I went with red rubber grease (RRG) for lubricating the parts during assembly. Everything I read about the stuff was positive, and it seems if you assemble a caliper with RRG the grease acts as a barrier between the brake fluid and moisture. Over time the moisture affected brake fluid becomes dried and then crystallises. The crystallised brake fluid then gets stuck between the seal and the piston, and leads to sharp lines being cut into the piston as each piece of grit passes up and down with each brake application. This is why you should only use a specified grease like RRG to assemble calipers and master cylinders, not brake fluid, or even worse, oil, which is completely incompatible with brake fluid.
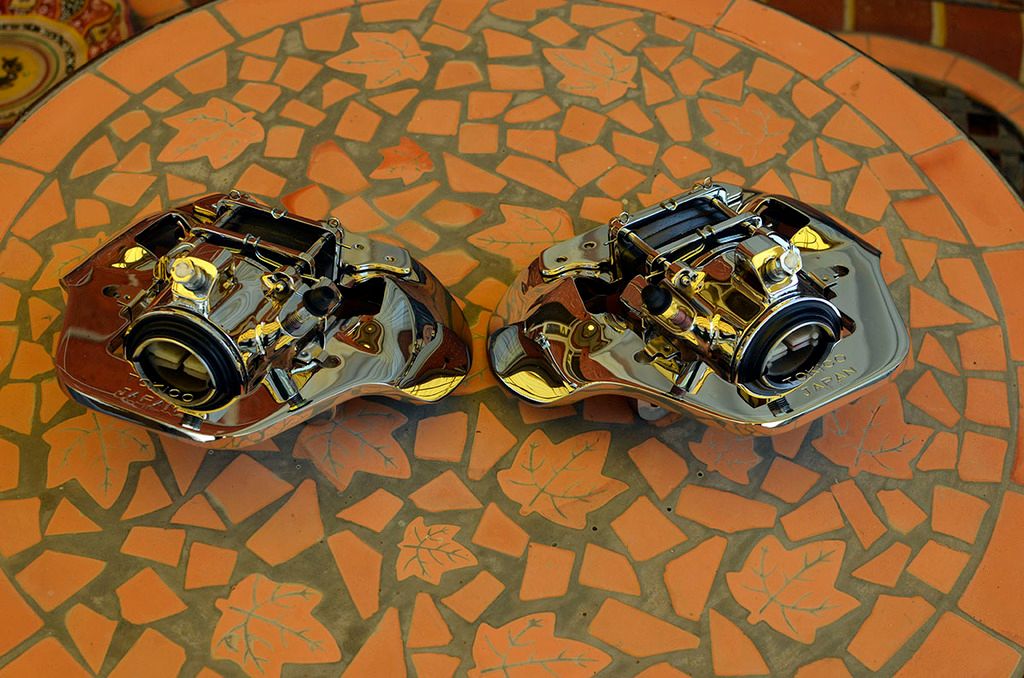
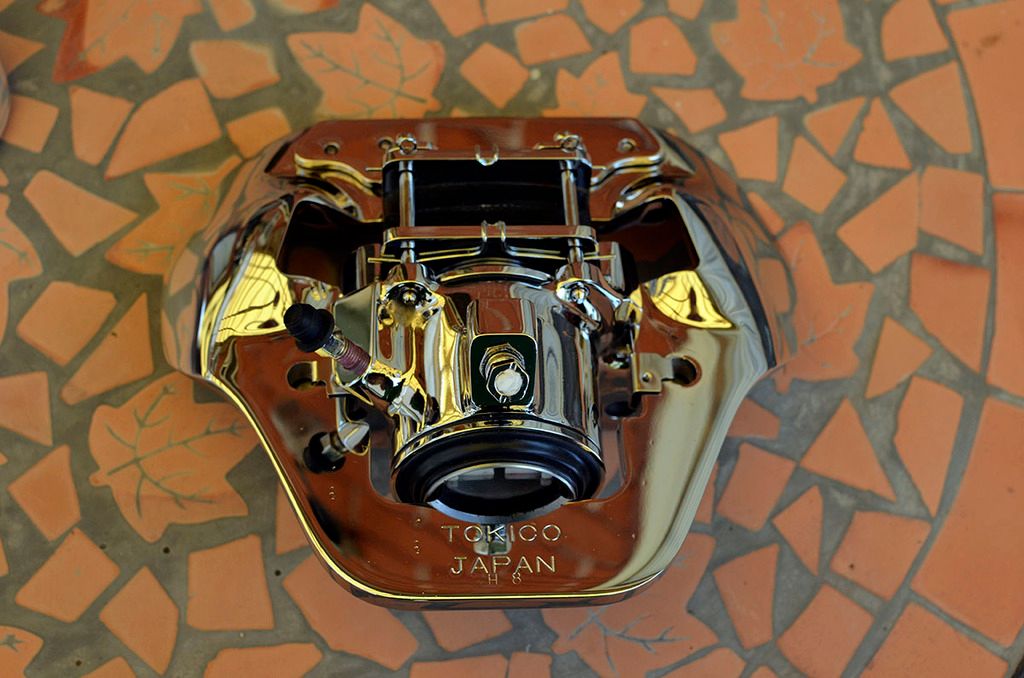
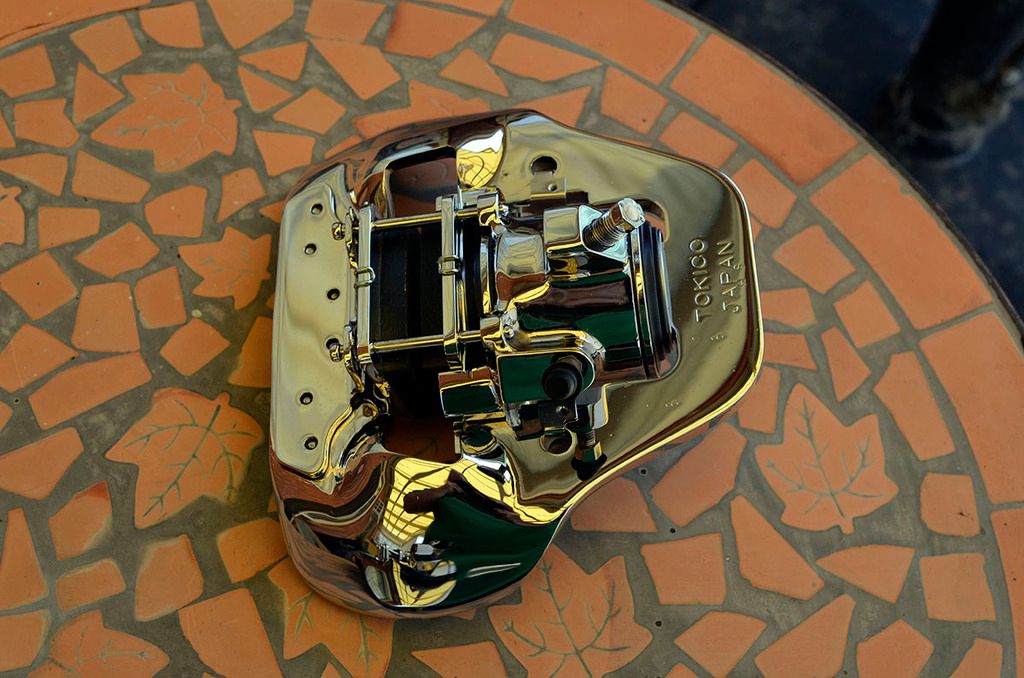
I got through an entire can of brake cleaner prepping the calipers and master cylinder for assembly. I then assembled them in the kitchen to keep them squeaky clean. I spent ages watching videos and reading comments on how to assemble the calipers. In the end I went with red rubber grease (RRG) for lubricating the parts during assembly. Everything I read about the stuff was positive, and it seems if you assemble a caliper with RRG the grease acts as a barrier between the brake fluid and moisture. Over time the moisture affected brake fluid becomes dried and then crystallises. The crystallised brake fluid then gets stuck between the seal and the piston, and leads to sharp lines being cut into the piston as each piece of grit passes up and down with each brake application. This is why you should only use a specified grease like RRG to assemble calipers and master cylinders, not brake fluid, or even worse, oil, which is completely incompatible with brake fluid.


- Steph
- Projects

- Posts: 3150
- Joined: August 14th, 2008, 2:02 am
- Province/State: South Australia
- Hometown: Adelaide
- Model: 1978 Hatchback
Steph's 1978 Honda Civic 1200
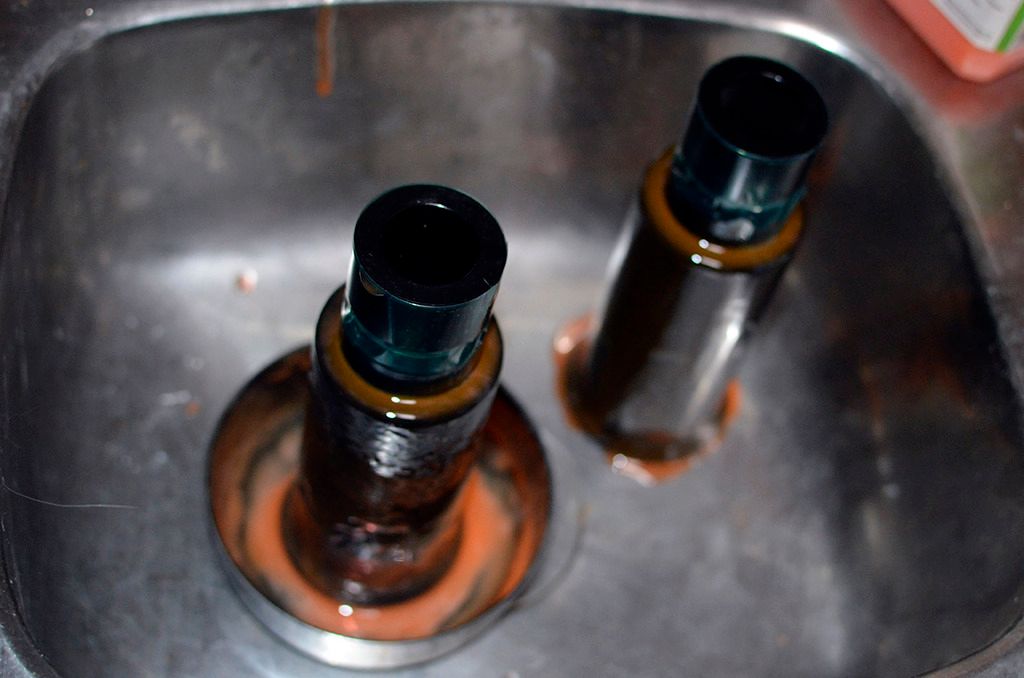
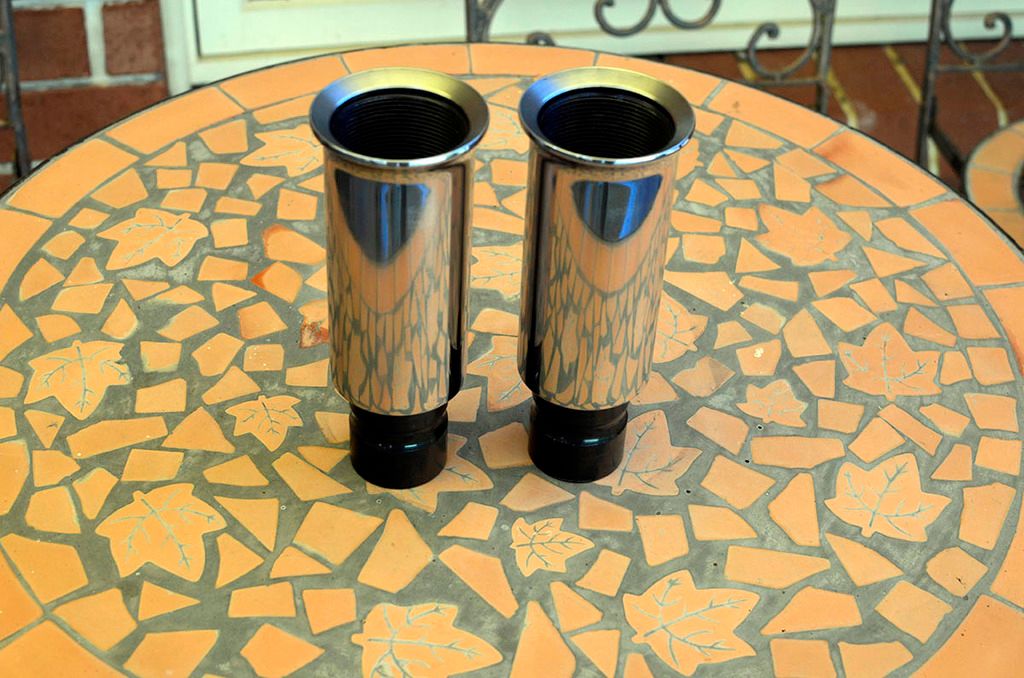
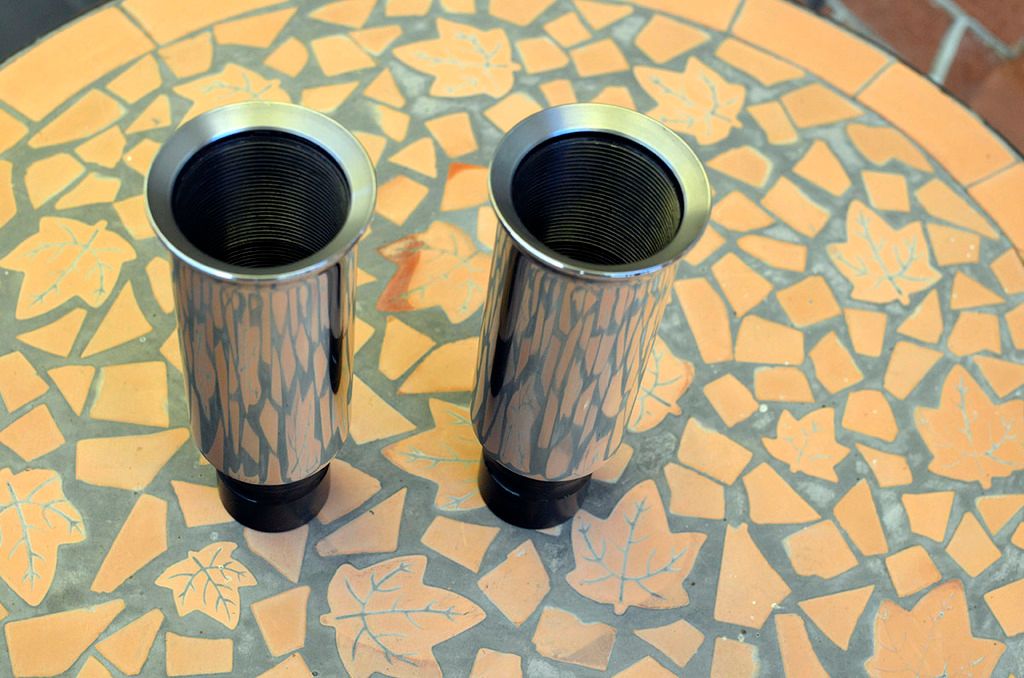
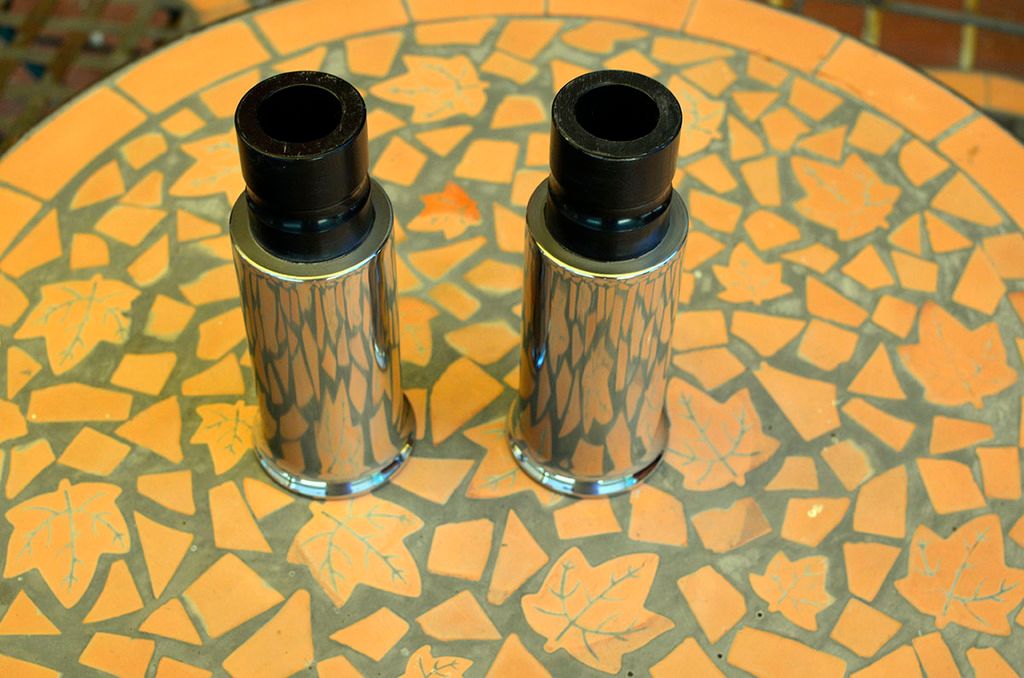
The lower legs of my adjustable front struts just didn't look 'show' enough to me, so I stripped the powder coating off and polished them up ready for chrome plating. It look over a week for the Citrustrip to strip the paint off. I must have 'basted' the parts 100s of times during the week and in the end I removed the soften paint that was still hanging on with a couple of stainless steel wool buds and a bit of old fashioned elbow grease. Underneath the paint is a machined surface with hundreds of tiny grooves. This took ages to sand and smooth. I only bothered removing the powder coating in the areas that can be seen. Plus, I didn't want to alter any tolerances... especially inside where the thread is. Next I'll be masking off the painted surfaces in preparation for chrome plating. The threads are coated with A&I Coatings - Sean 'n' Peel. Other areas I use electrical insulation tape. Especially in areas that I want a straight line on the edge of the chrome.


- Steph
- Projects

- Posts: 3150
- Joined: August 14th, 2008, 2:02 am
- Province/State: South Australia
- Hometown: Adelaide
- Model: 1978 Hatchback
Steph's 1978 Honda Civic 1200
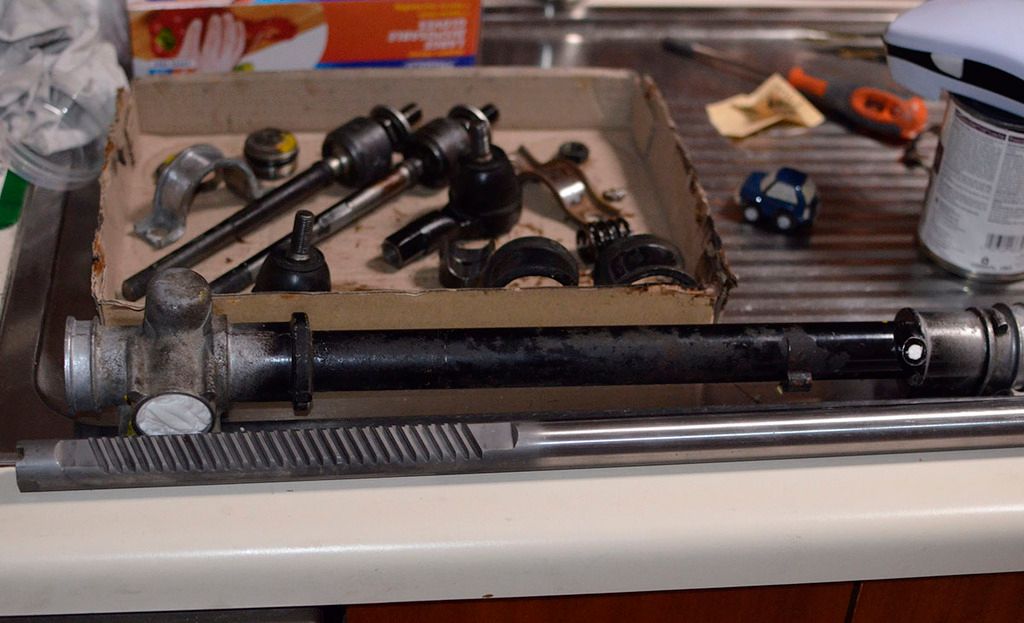
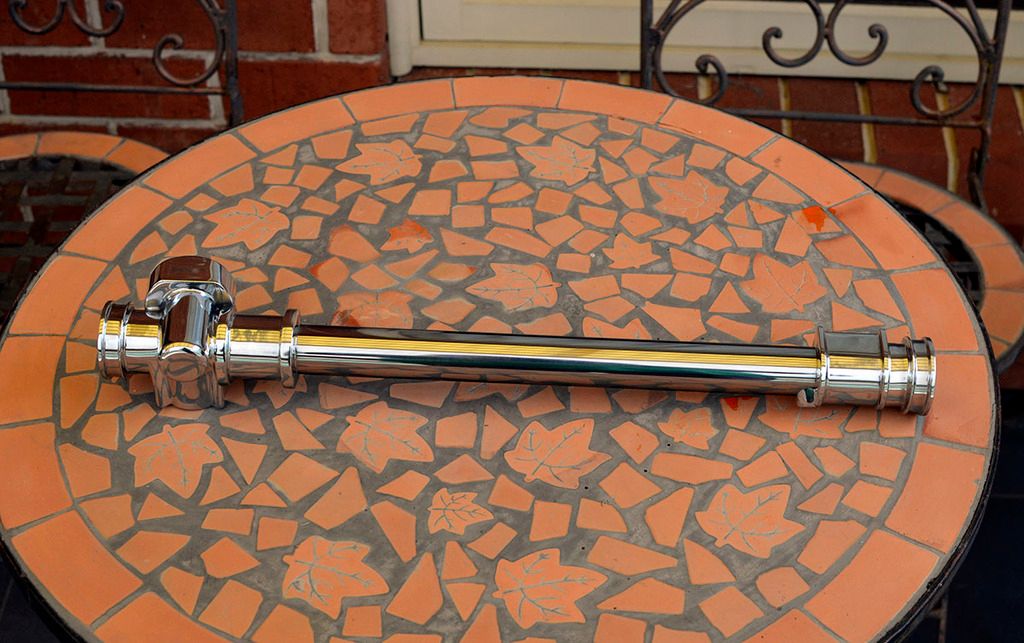
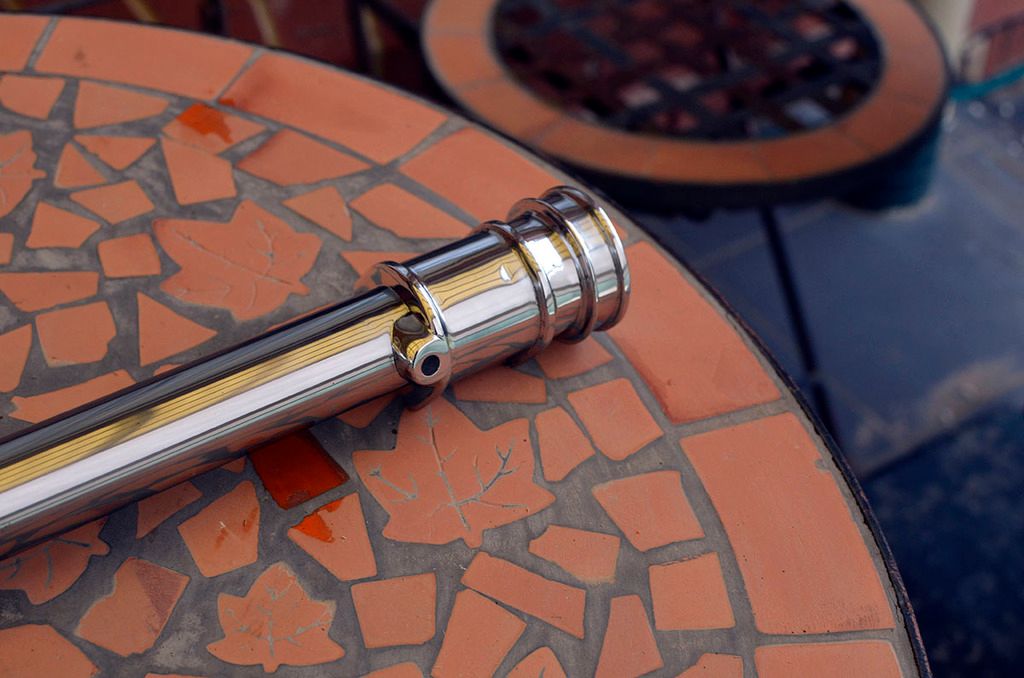
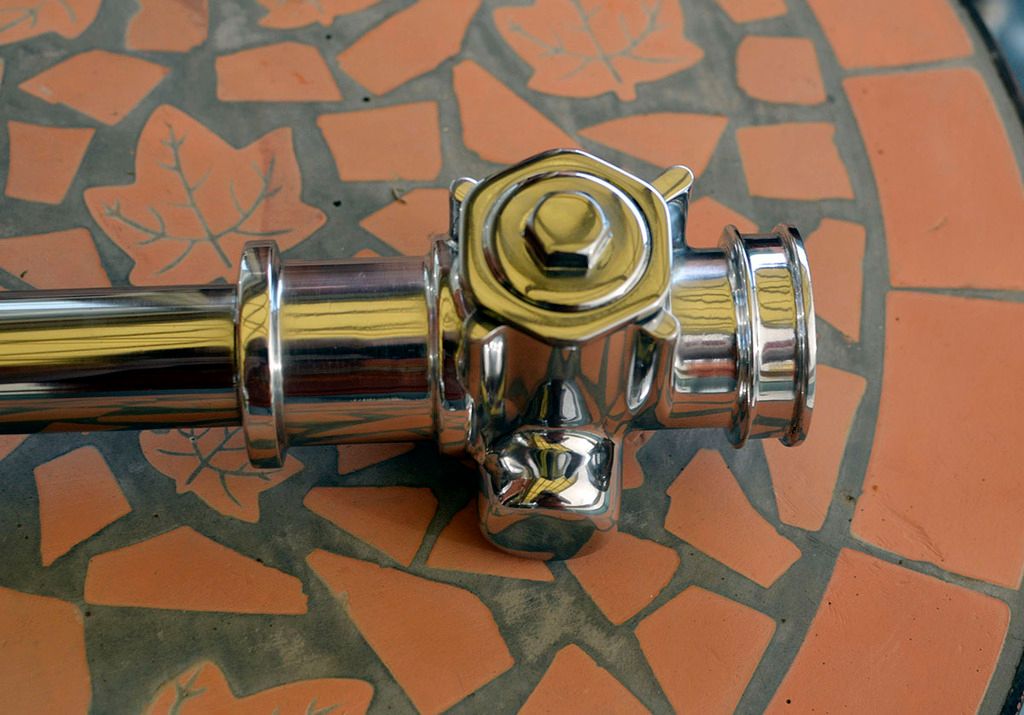
I've been killing myself removing the steering rack and disassembling it for plating. All that rolling under the car and getting back up again took its toll on my back. Disconnecting the yoke between the steering column and steering rack didn't make matters any better. Fortunately my back doesn't get anywhere near as bad as it used to, so I pushed on through. So far I've completely disassembled and cleaned all the parts from the rack, and I ordered a bunch of parts to rebuild it with. I managed to get NOS OEM replacement rubber mounting bushes (cushions) and a new dust seal for the steering pinion shaft. I also bought a new pair of rack boots, as well as a pair of new tie rods. I already had a new pair of tie rod ends that I'll be polishing and plating. The major task has been sanding and polishing the rack housing. The housing is made up of aluminium castings on the ends that are pressed onto a steel centre tube. They're almost seamlessly married together. So tight in fact, that I expect the chrome plating will bridge the nonexistent gap between the aluminium and steel to create a perfect seal. I'll post photos in the next day or two. It's going to be over 100F here for the next few days, so there's not much else to do but work on the car. Air conditioners set to warp speed to cope with it.
- Steph
- Projects

- Posts: 3150
- Joined: August 14th, 2008, 2:02 am
- Province/State: South Australia
- Hometown: Adelaide
- Model: 1978 Hatchback
Steph's 1978 Honda Civic 1200
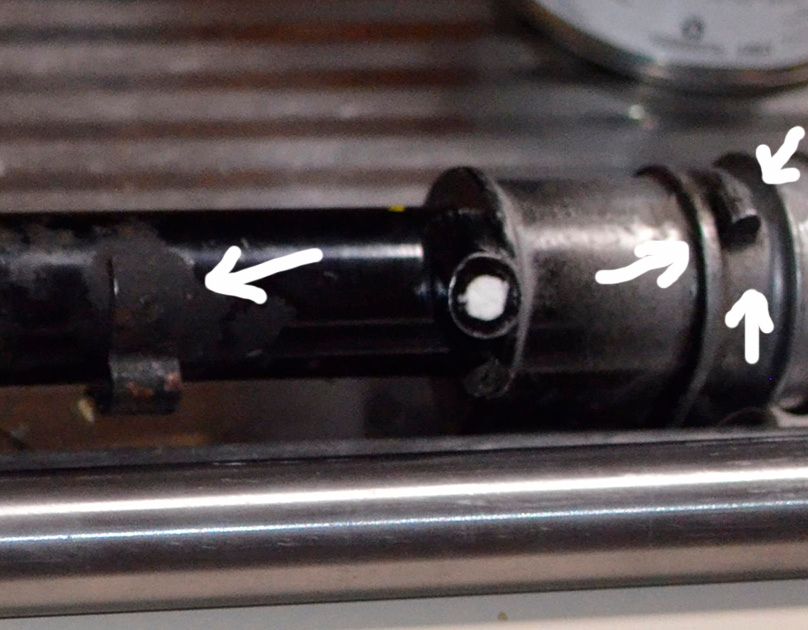
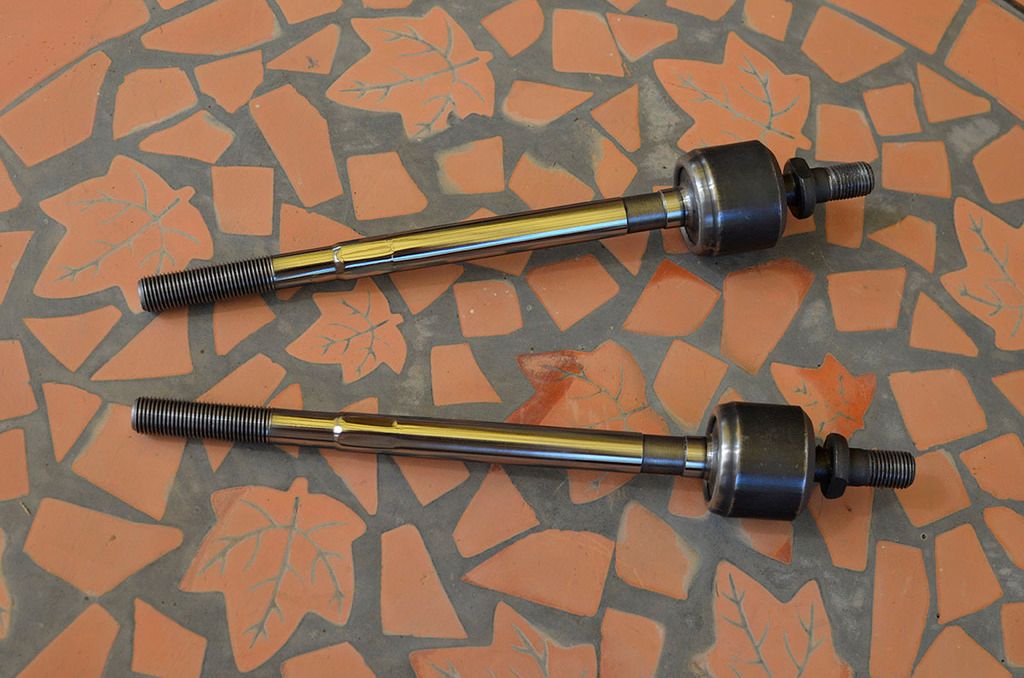
I had to do some serious filing to remove the two superfluous bosses (see arrows) one end of the steering rack housing. The grease nipple boss was a heap of work as well. All up it took around 70 hours work to sand and polish the rack housing. Today I sanded and polished the new tie rods that just arrived in the post (pictured below). Tomorrow I'll get started on the tie rod ends.



- Kurt
- LSD

- Posts: 2054
- Joined: August 3rd, 2005, 12:56 am
- Province/State: British Columbia
- Hometown: Maple Bay
- Model: —————-
Steph's 1978 Honda Civic 1200
are you polishing the steel or chroming it?

